Version Control & Deploy flows with NiFi Registry
In realworld deployments, we usually have more than one NiFi environment; one where we develop our flows (Dev), and one where we deploy and run the flows (Prod).
It’s quite common to see people building the flow in Dev, exporting it as a template in XML, then importing the template XML in to Prod. This works, but it’s not ideal. There’s a few drawbacks to this method: it’s a completely new flow so we lose any saved state in stateful processors, it’s a manual process, you need to clean up old versions, etc.
Instead, we can use NiFi Registry to improve the process. NiFi Registry is like Git for your NiFi flows - in fact, you can add a Git provider to NiFi Registry which stores your flows in your Git host of choice (local Git, GitLab, GitHub, BitBucket, etc.)
We can create a single NiFi Registry that is common between Dev and Prod, allowing us to build flows in Dev, commit them to Registry, and drag them in to the Prod canvas. We can then make changes to the flow in Dev, commit the changes to a new flow version in Registry, and finally pull changes down to the flow Prod. The versioning is baked in, there’s no old flows to clean up, and we even retain state on stateful processors (e.g. ListFile).
Let’s walk through the process. This assume you have a working NiFi and NiFi Registry already installed, I am using NiFi 1.13.1 and Registry 0.8.0. If you don’t, here’s some helpful links:
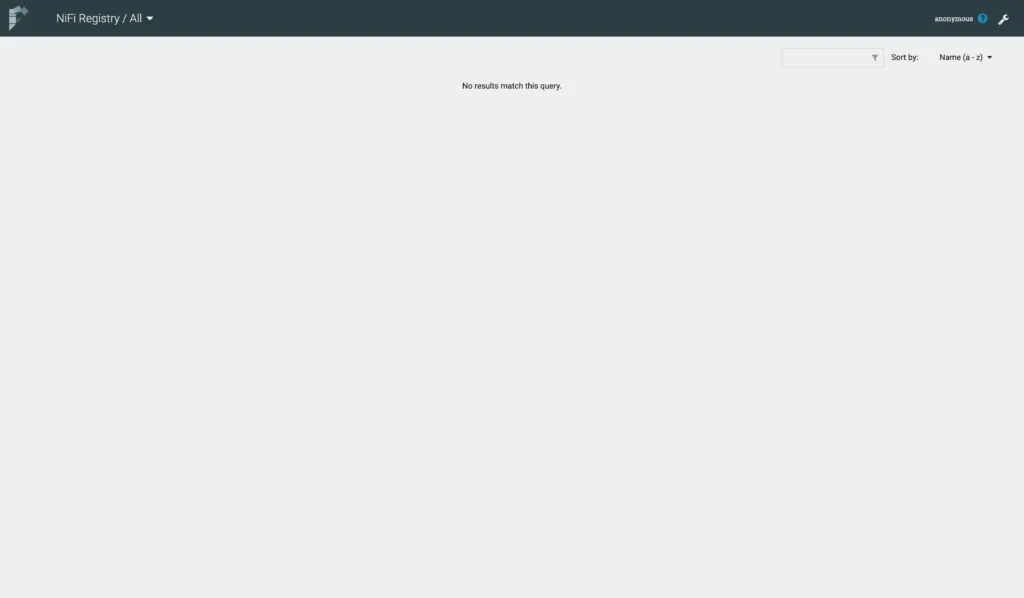
Firstly, we see a blank registry with no buckets or flows. We click the Spanner icon in the top right.
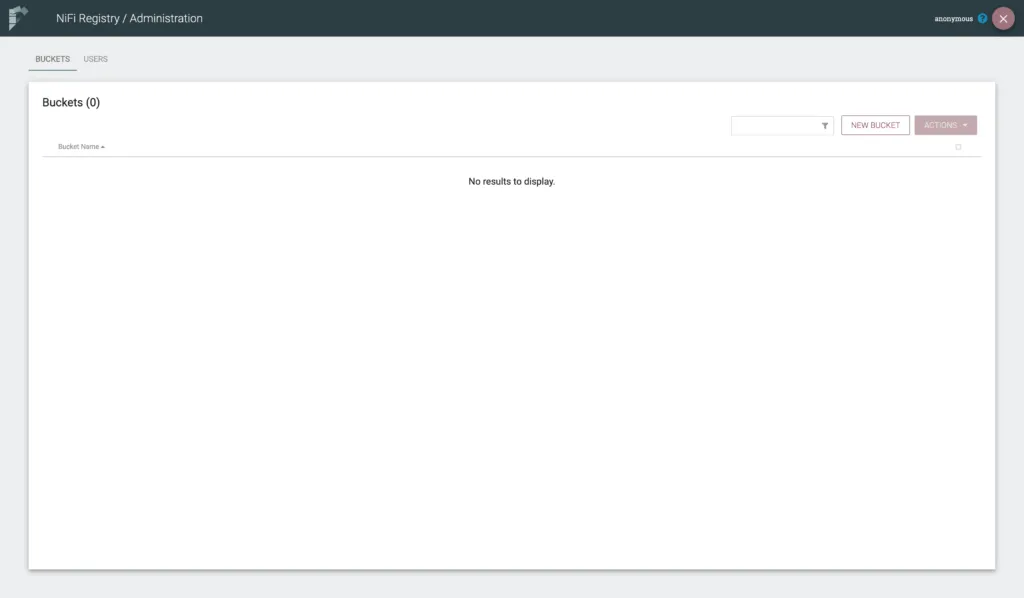
We see an empty list of bucket. We click NEW BUCKET to add a bucket for our flows.
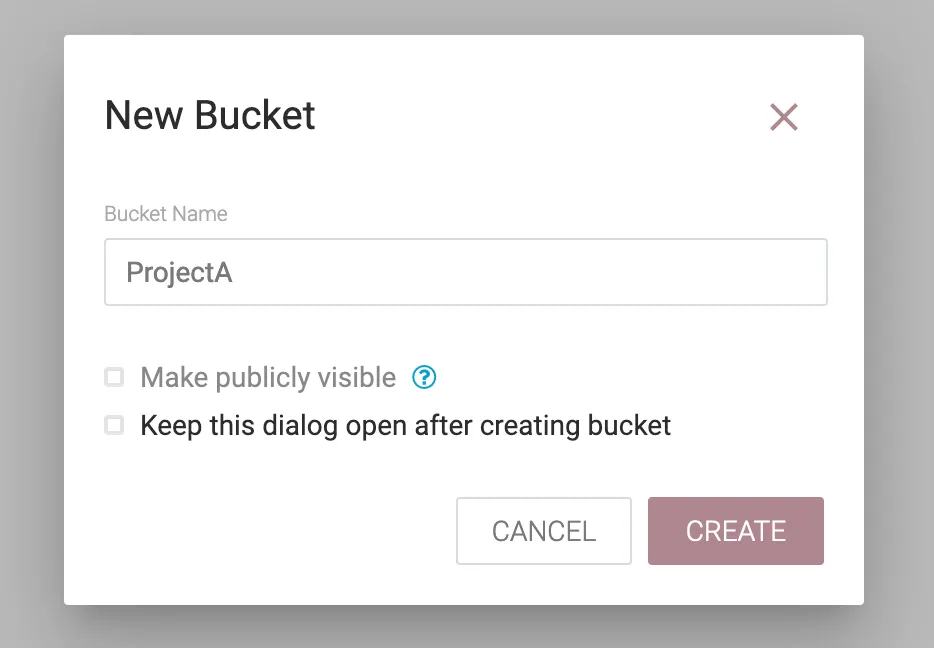
We get a diaglogue box that lets us name the bucket - for example, we can name it after the project that will store its flows here.
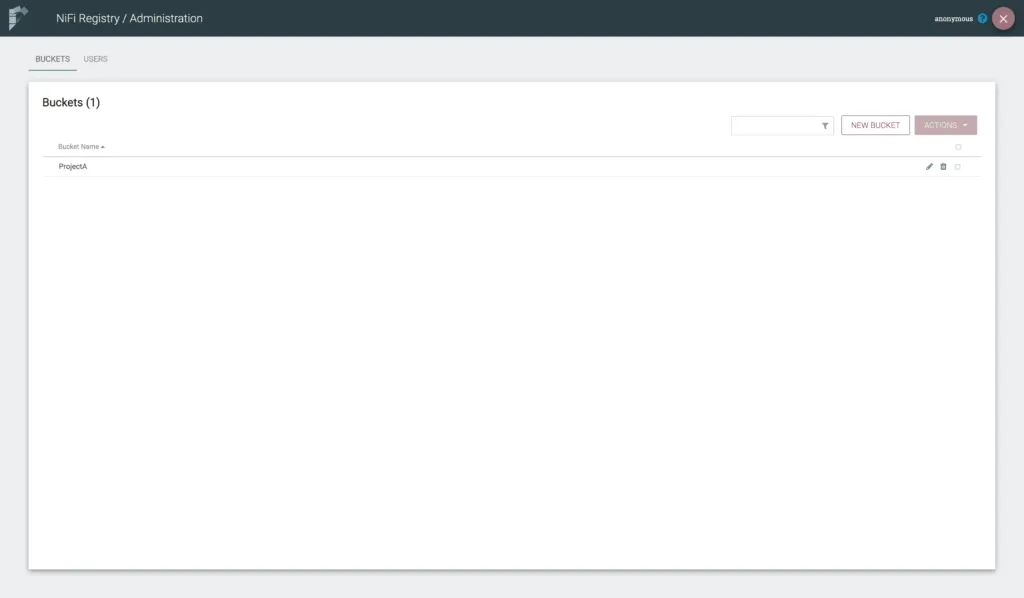
We can see the created bucket in our list.
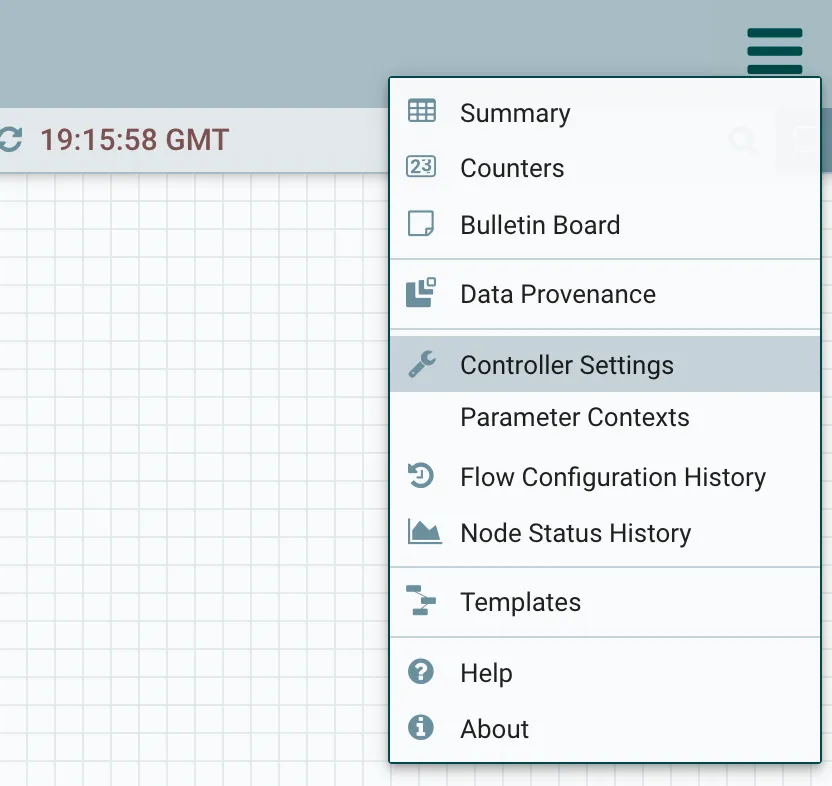
Now, in our Dev NiFi, we need to connect to Registry. Go to the burger menu in the top right and click Controller Settings.
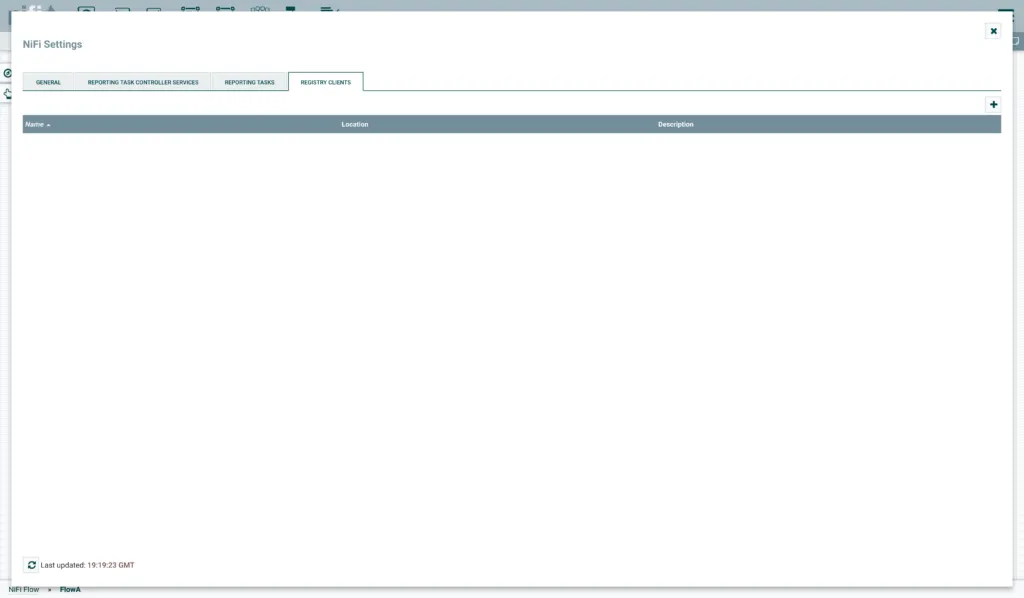
This opens a tabbed diaglogue, and we want the REGISTRY CLIENTS tab. Click the + icon to add a new client.
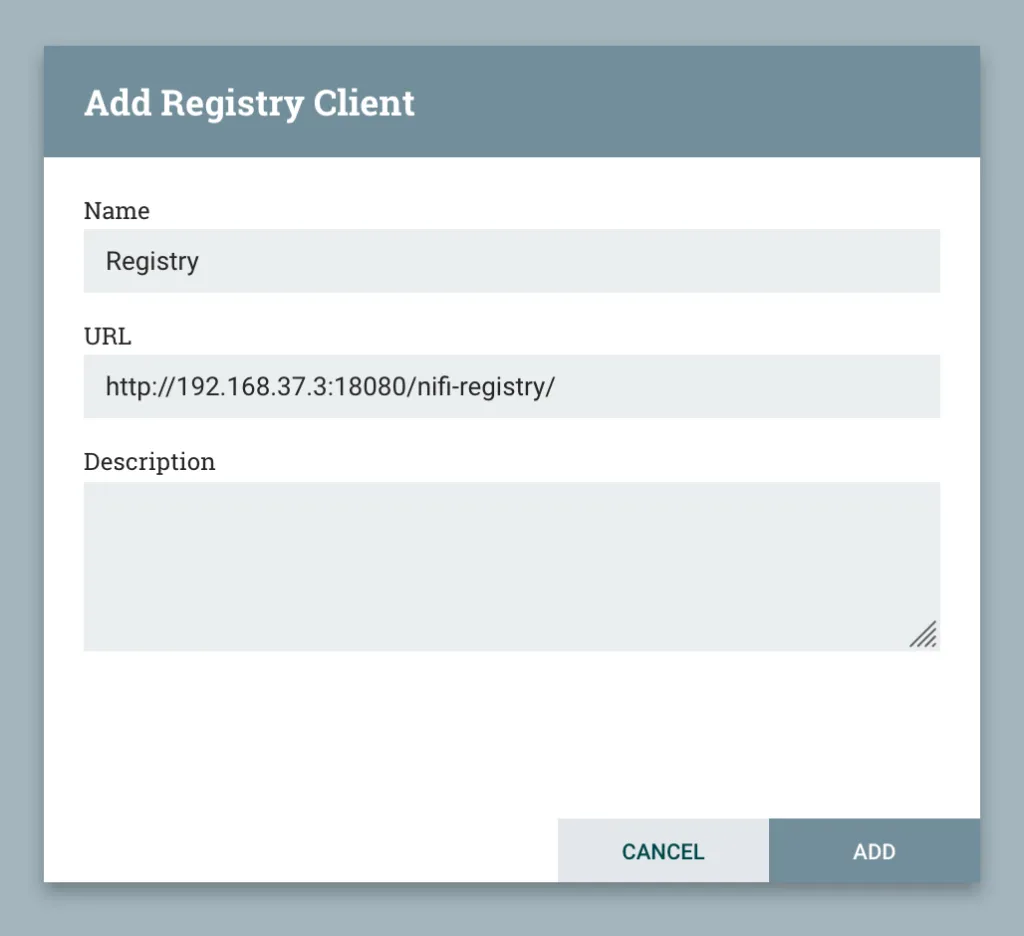
We get a dialogue box to enter the registry details. Add the URL for your NiFi Registry instance - just copy the URL from the browser, including the http:// prefix, hostname, port, and the /nifi-registry/ suffix. Provide a name that identifies your Registry client - you can have more than one NiFi Registry so this lets us indentify which Registry we are using when we version a flow. The description is optional.
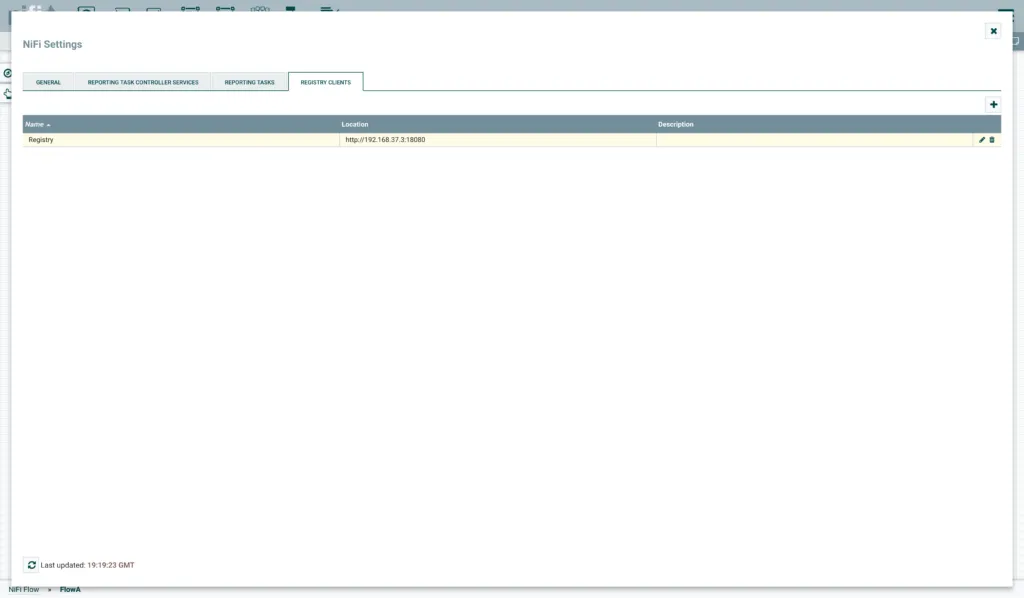
We can see our NiFi Registry client in the list.
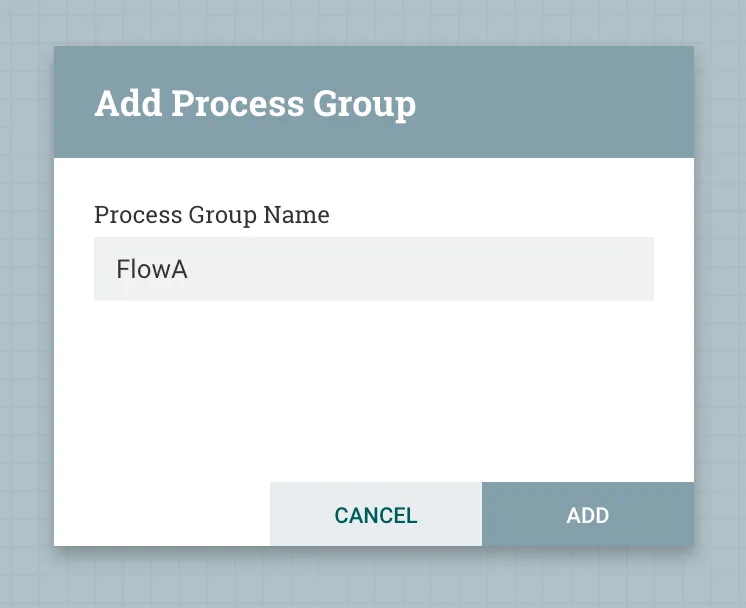
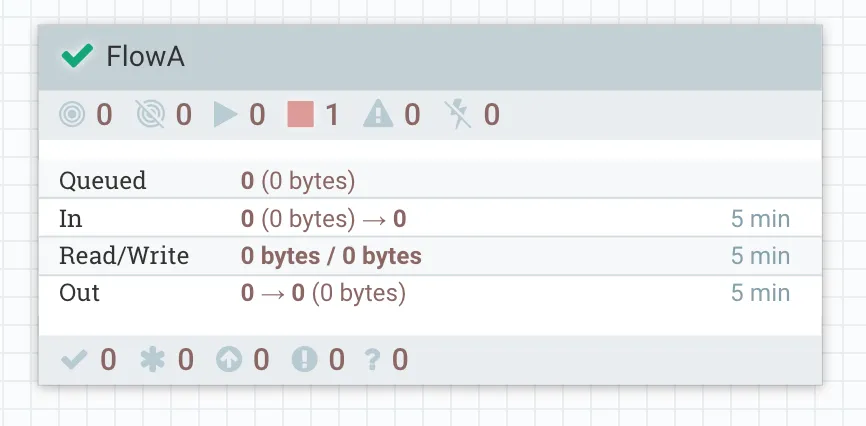
Go back to the Root canvas in NiFi and drag on a new Process Group. I will call mine FlowA.
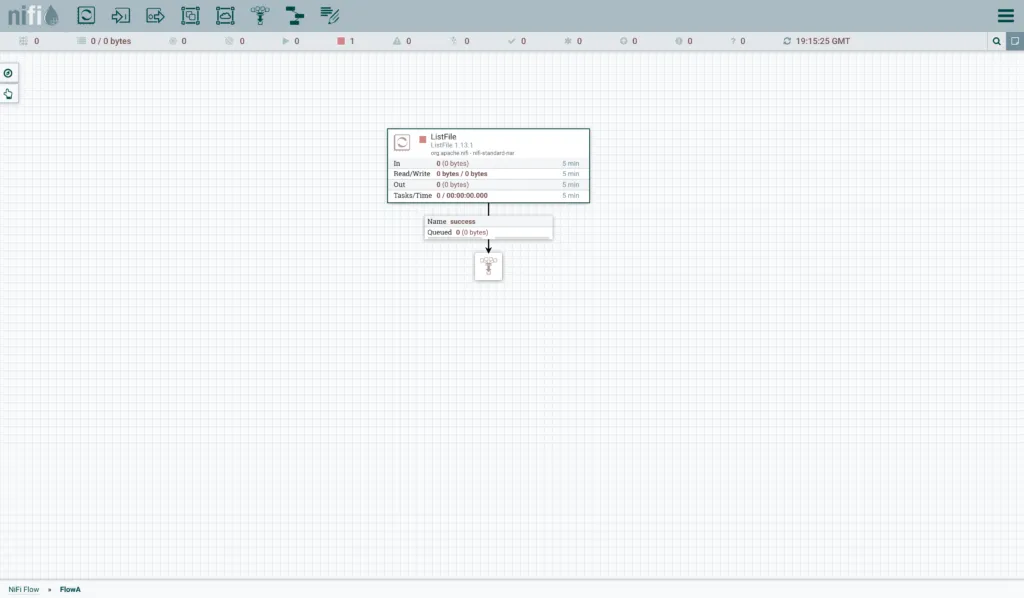
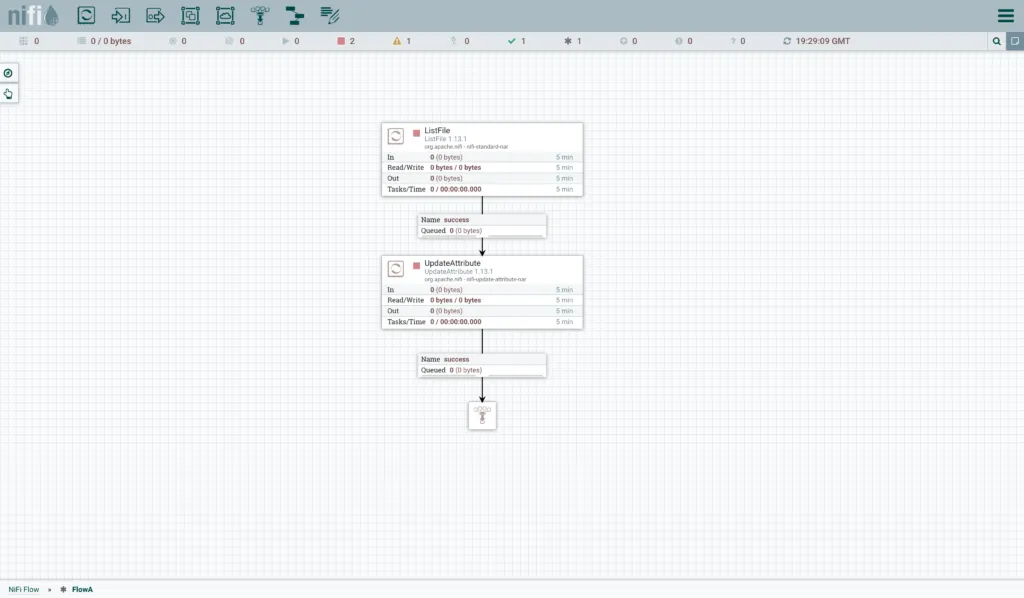
Drag in some processors to create your flow. Mine is just a ListFile on /tmp to demonstrate that the state is kept between versions.
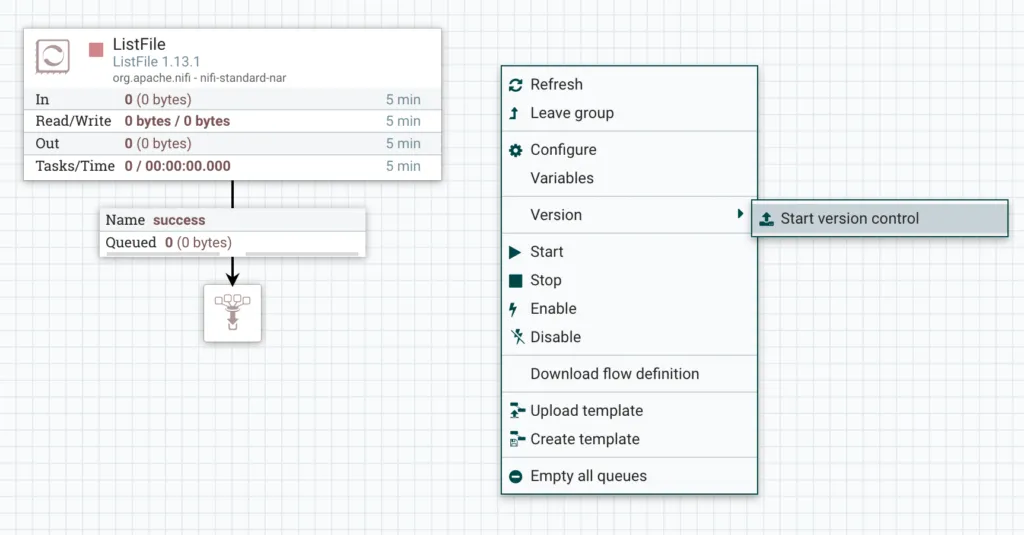
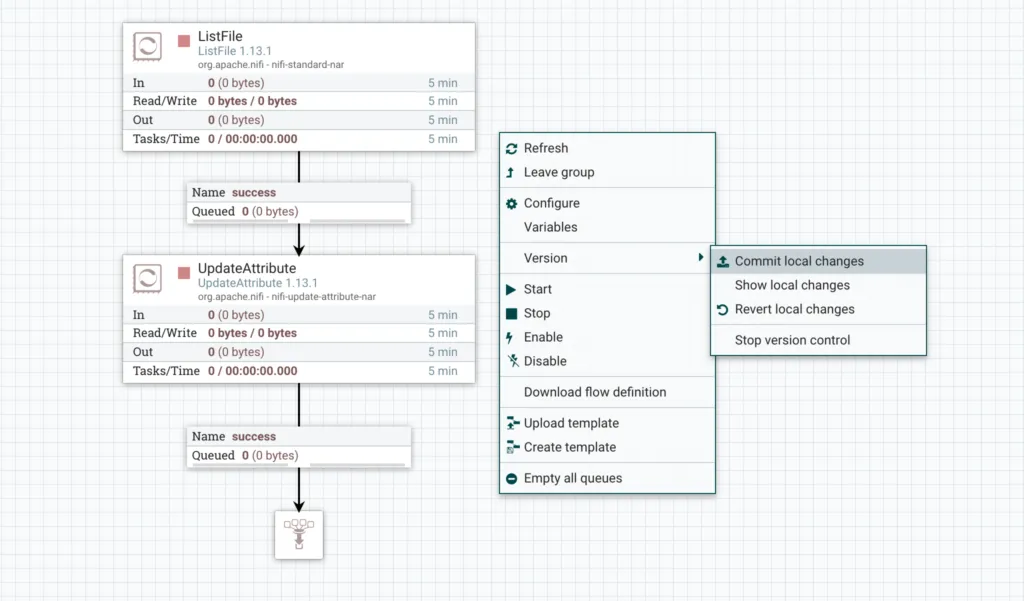
When done with the flow, right click the canvas background, go to Version and then Start Version Control.
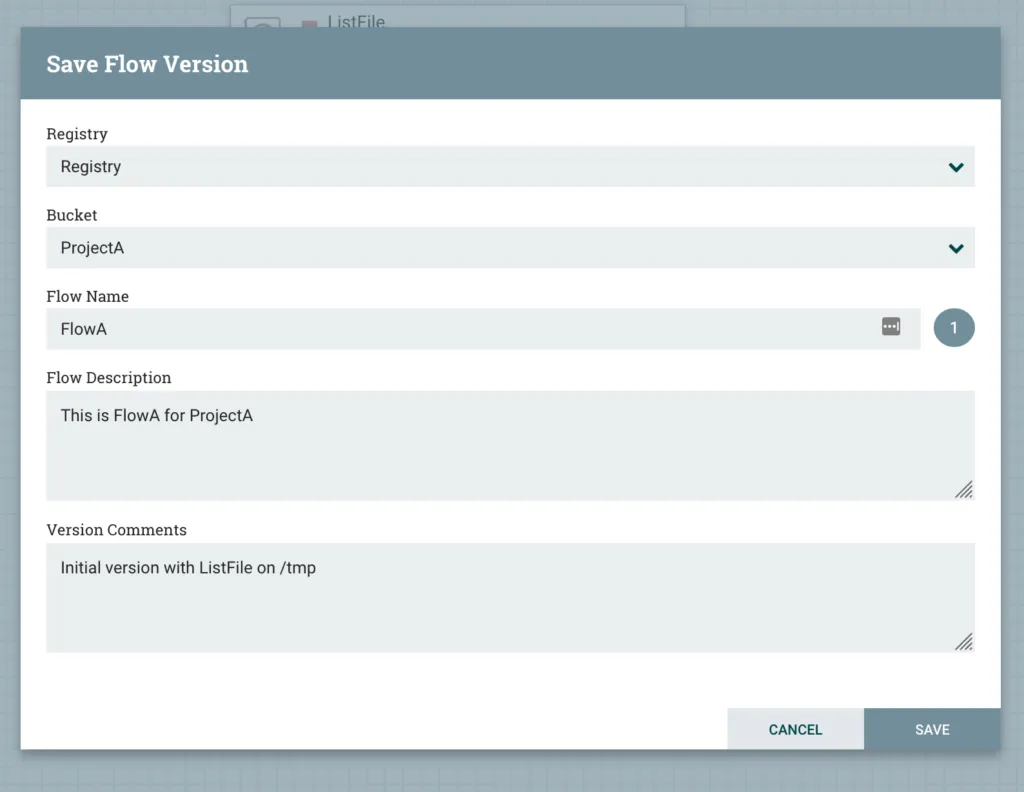
We get a dialogue box to provide details. Select the Registy client and the Bucket we created earlier. Provide a name for the saved flow. A description can be given to describe the flow, and this is not changed between versions. You can also provide Version Comments, similar to a commit message, which can be given with each new version.
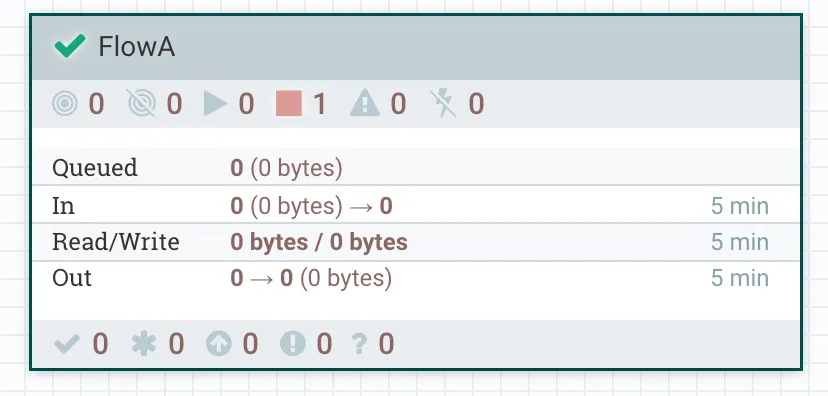
Now, we can see that a Tick appears next to our Process Groups title, showing that version control is enabled and we are tracking the latest changes.
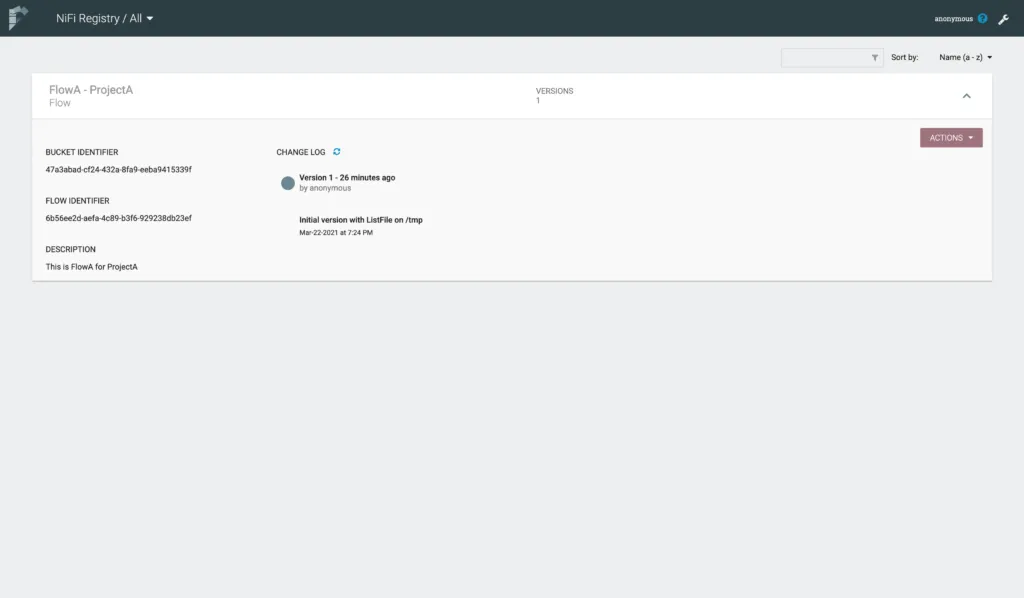
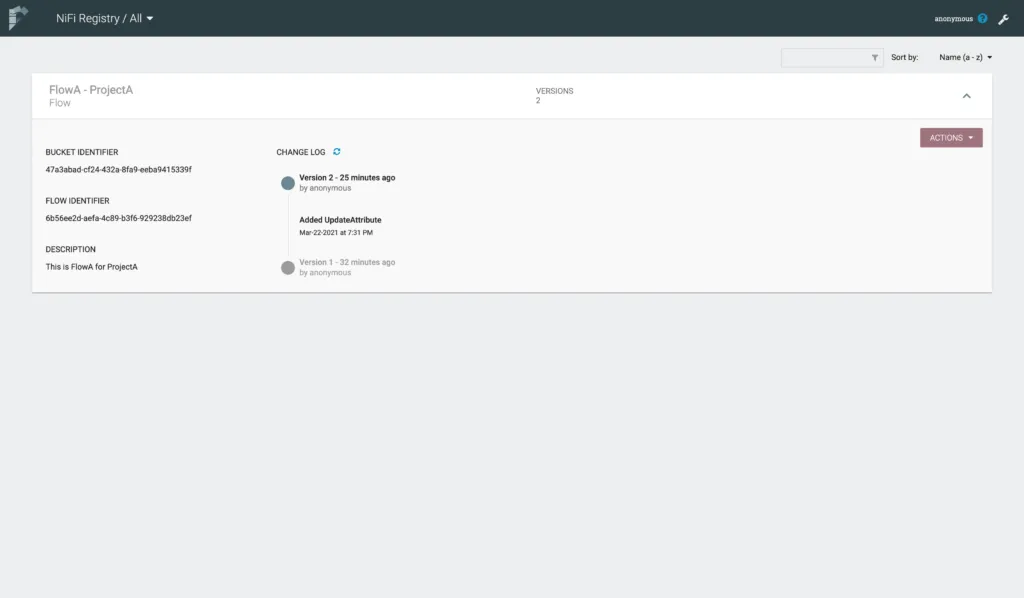
Back in NiFi Registry, we can see the flow is shown with various details.
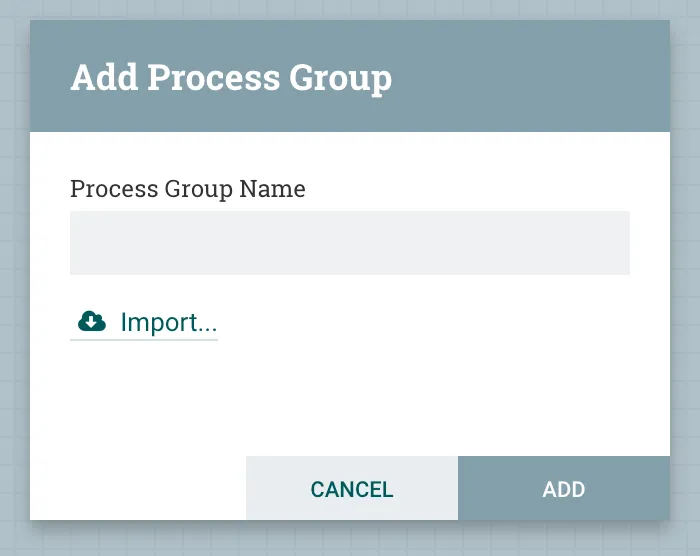
Now, in our Prod NiFi, complete the same steps as above to add the Registry client. Once done, go to the Root canvas and drag in a new Process Group. This time, click the Import link in the dialogue box.
We can pick the Registry client and Bucket we want to import flows from. Then we can pick the Flow to import. Then we are given a list of the available version to choose from. We only have 1 version - you need to click the row in the list.

Our flow is imported, and we see the tick just as we did in Dev.
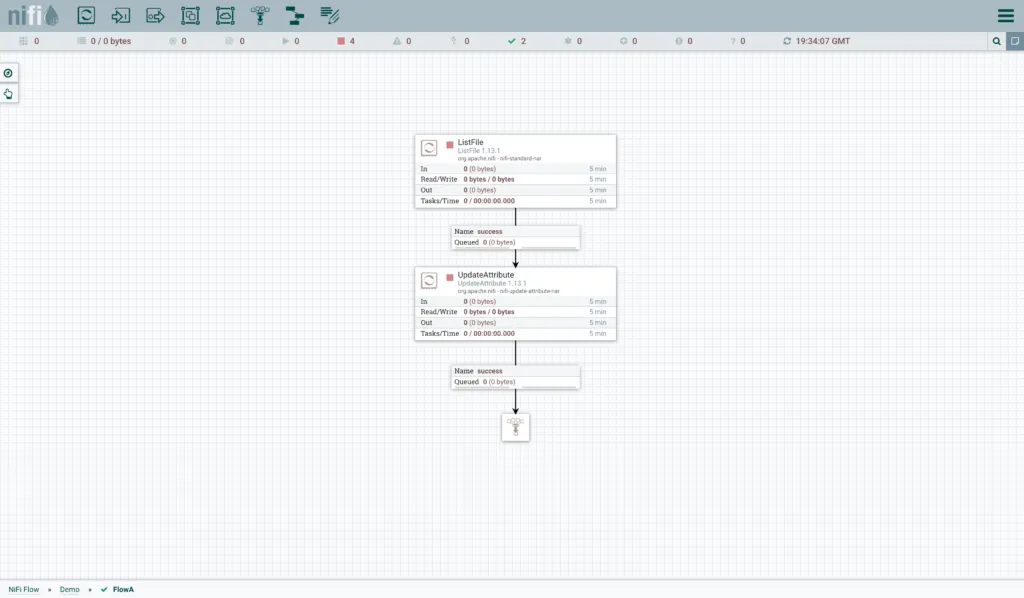
Now, back in Dev NiFi, make some changes to the flow. I have added an UpdateAttribute processor.
Commit the changes to Registry by right clicking in the canvas background, then Version, then Commit Local Changes.
We get a dialogue box that lets us provide some comments on the version, and we see in the dark circle what the version number is.

Back in NiFi Registry, we can see that our flow has another version.
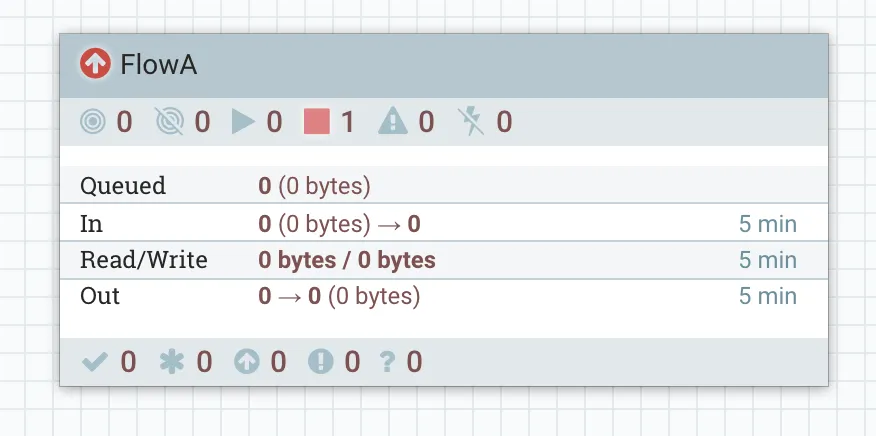
Back in Prod NiFi, the flow we imported from NiFi Registry now shows a red arrow icon, indicating there is a newer version of this flow available.
Inside the process group, we can see the flow is still the original version. To upgrade, we can right click the canvas background, go to Version and then Change Version.
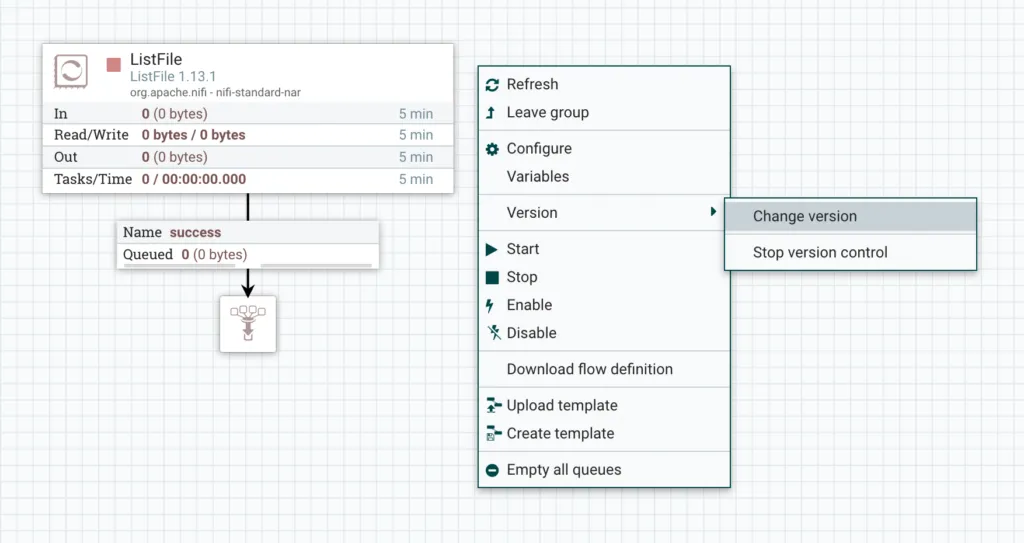
We see a dialogue box with a list of all the available flow version, their creation timestamp and the comments. Select the new version in the list.

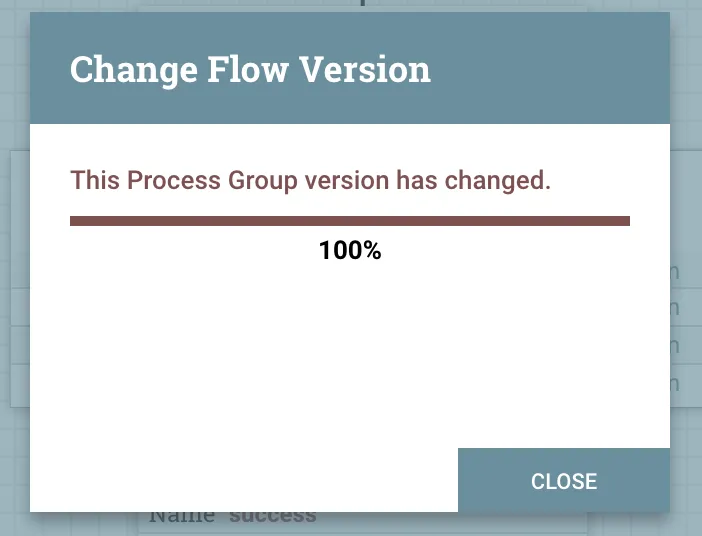
A progress box will open. When you upgrade a flow to a new version, it will stop all processors in the flow.
We can now see that our flow has been updated in Prod. State for ListFile has been preserved and its ready to start.
This demonstrates how to utilise NiFi Registry to develop & deploy NiFi flows between your Dev and Prod NiFi environments; a much better process than relying on export/import of Flow templates.